Jira
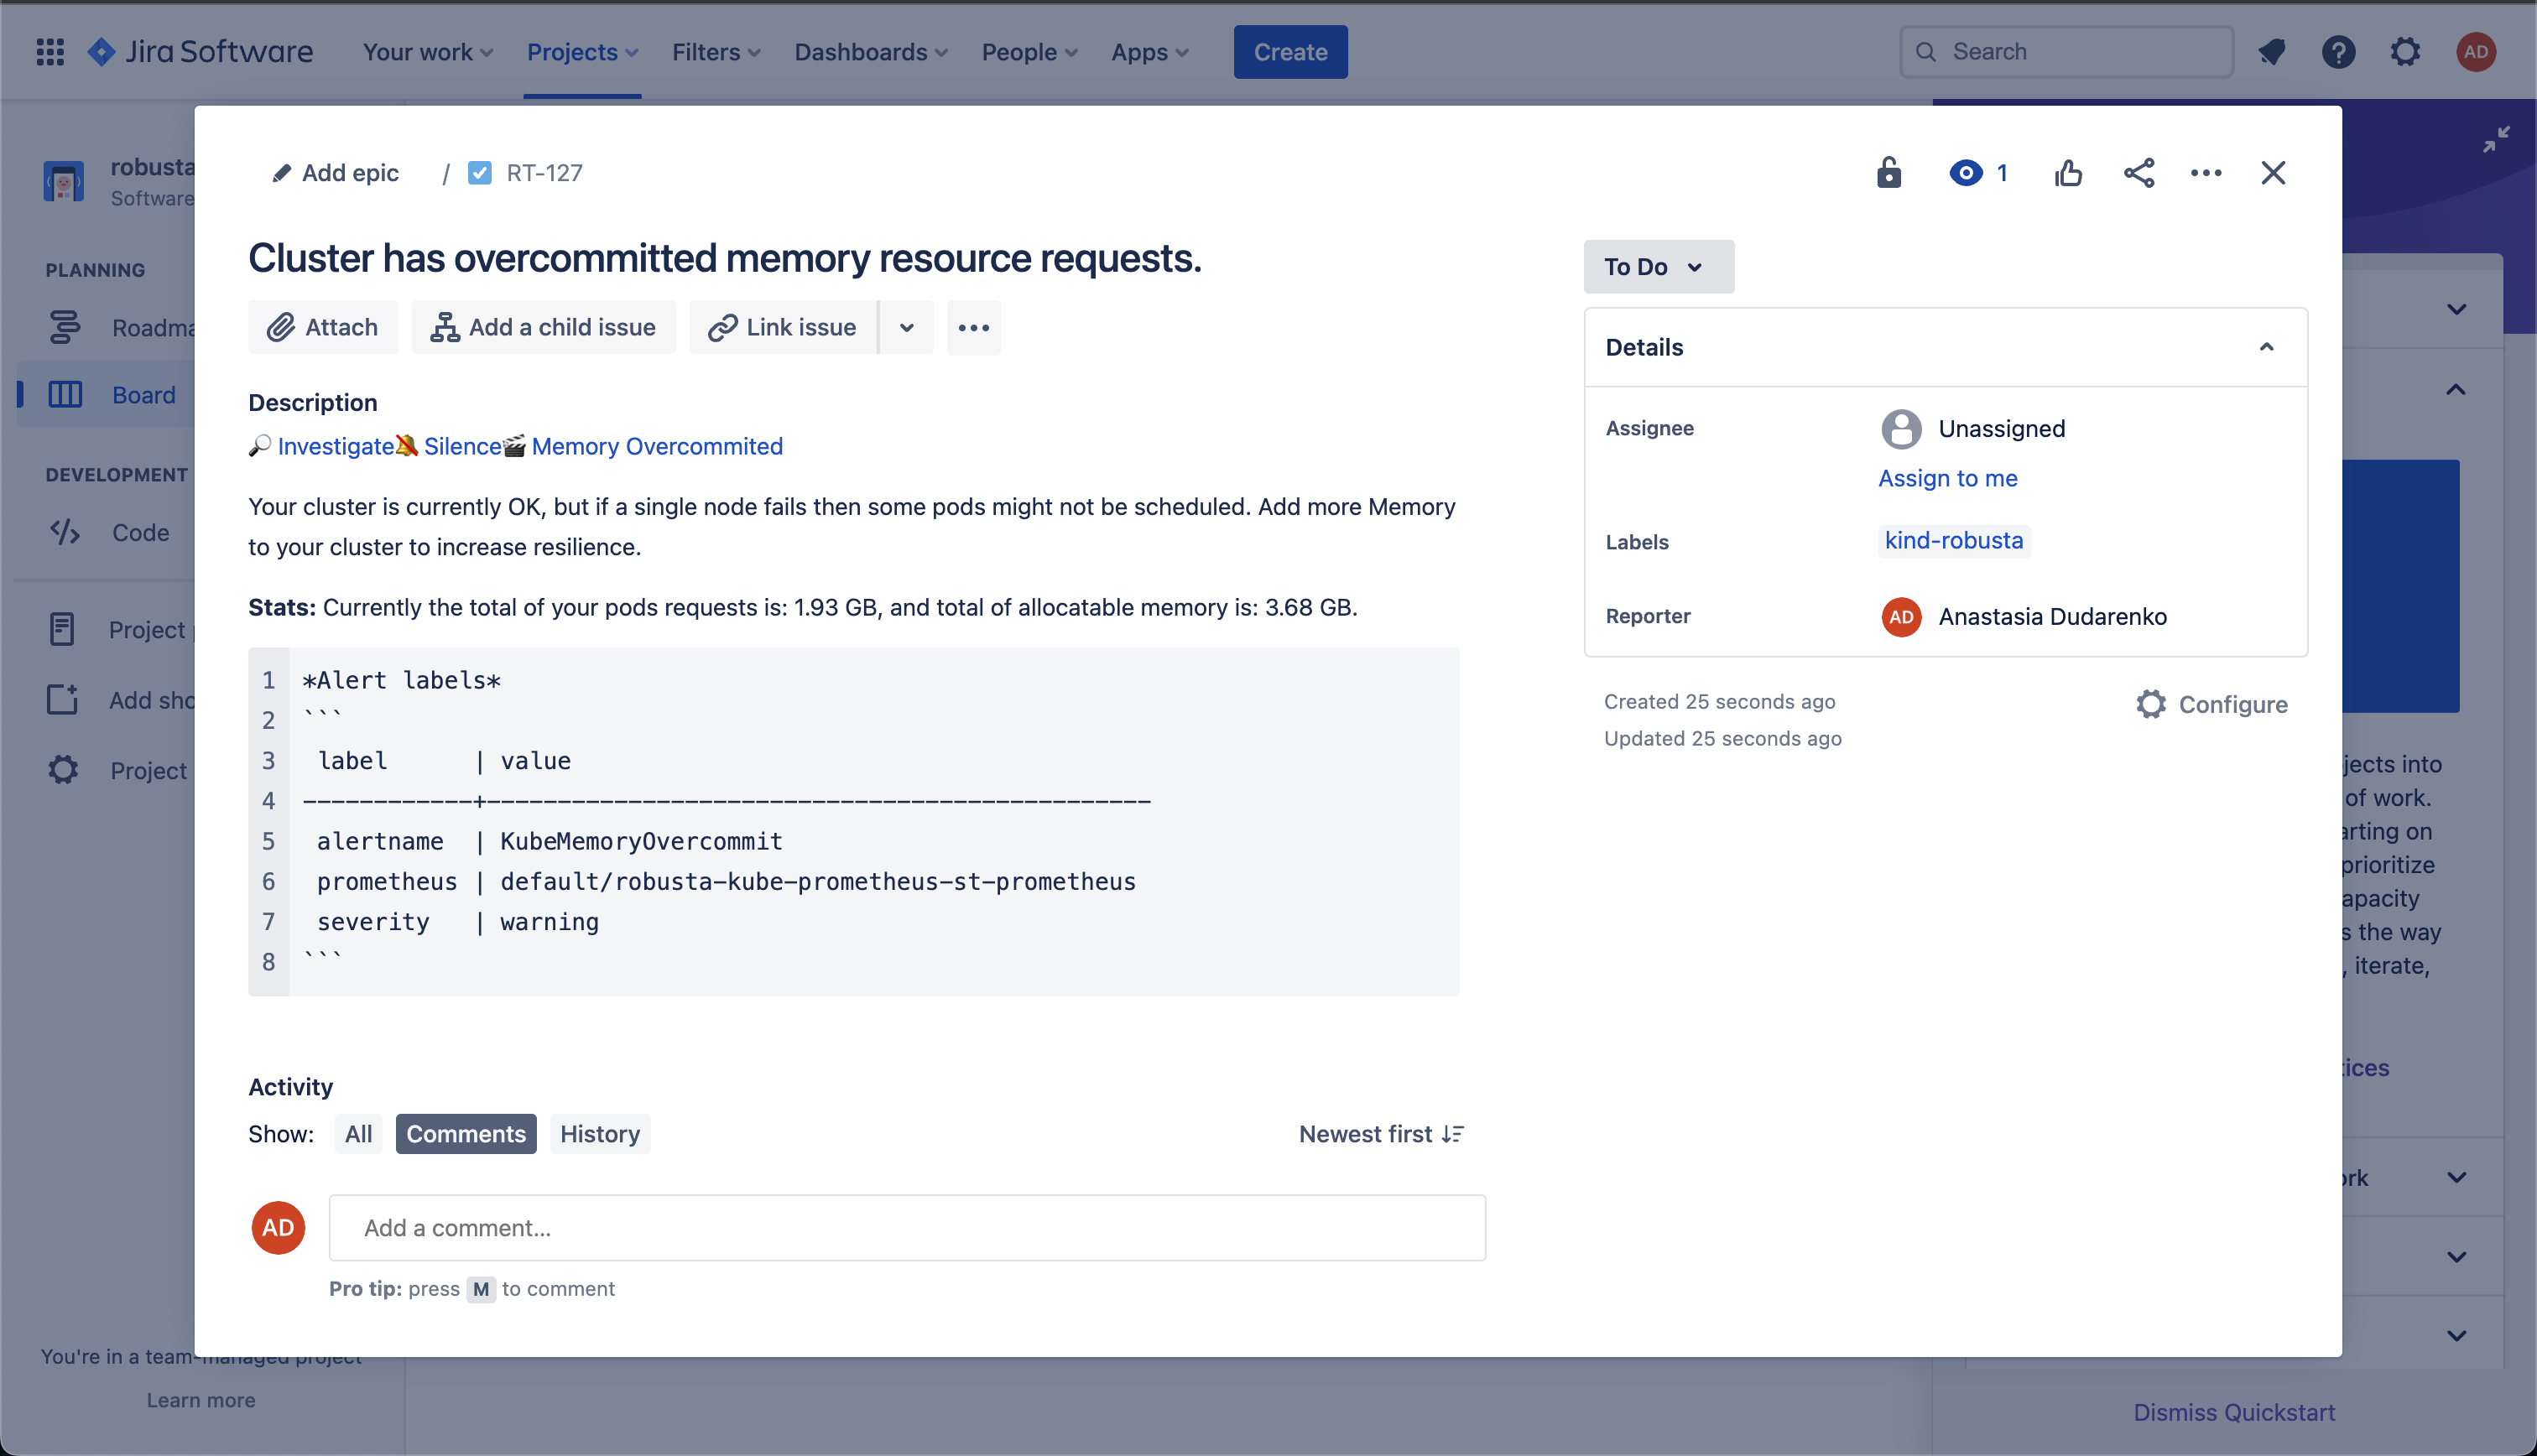
Robusta can automatically open and (optionally) resolve Jira tickets, based on issues in your Kubernetes cluster.
To configure the Jira destination you need to have following:
Prerequisites
url: The url of your workspace. For example: https://workspace.atlassian.net (Note: schema (https) is required)username: The email you use to log into your Jira account. Eg: jira-user@company.comapi_key: Follow these instructions to get your api key.project_name: Project you want the Jira tickets to be created in. Go to Project Settings -> Details -> Name.
Note
The configured user should have the following permissions:
write:jira-work,read:jira-work
Optional Settings
issue_type: [Optional - default:Task] Jira ticket typepriority_mapping[Optional] Maps Robusta severity levels to Jira priorities. Example:priority_mapping: HIGH: "High" LOW: "Low" INFO: "Lowest"
dedups: [Optional - default:fingerprint] Tickets deduplication parameter. By default, Only one issue perfingerprintwill be created. There can be more than one value to use. Possible values are: fingerprint, cluster_name, title, node, type, source, namespace, creation_date etcproject_type_id_override: [Optional - default: None] If available, will override theproject_nameconfiguration. Follow these instructions to get your project id.issue_type_id_override: [Optional - default: None] If available, will override theissue_typeconfiguration. Follow these instructions to get your issue id.assignee: [Optional - default: None] Jira ID of the person that the issue is assigned to.epic: [Optional - default: None] Jira ID of the epic that the issue is linked to.
Following optional settings only work for Prometheus alerts:
sendResolved: [Optional - default: false] If true, will transition a Jira issue to "Done" when the alert event contains a "resolved" status.reopenIssues: [Optional - default: false] If true, will reopen a "Done" Jira issue when an alerts fire with the same fingerprint. If false, a new issue will be created.doneStatusName: [Optional - default: 'Done'] The name of the "Done" status in Jira. Will be used to identify "Done" tasks in Jira.reopenStatusName: [Optional - default: 'To Do'] The name of the "To Do" status in Jira. Will be used to identify "To Do" tasks in Jira.noReopenResolution: [Optional - default: ''] The name of a target Jira resolution that, if present on a Jira issue, prevents Robusta from re-opening it. If this value is present, it makes Robusta ignore thereopenStatusNameconfig.
Configuring the Jira sink
CPUThrottlingHigh and KubePodCrashLooping Prometheus alerts.Add this to your generated_values.yaml
sinksConfig:
  - jira_sink:
    name: personal_jira_sink
    url: https://workspace.atlassian.net
    username: username
    api_key: api_key
    dedups: (OPTIONAL)
      - fingerprint
    assignee: user_id of the assignee(OPTIONAL)
    epic: epic_id(OPTIONAL)
    project_name: project_name
    priority_mapping: (OPTIONAL)
      HIGH: "High"
      LOW: "Low"
      INFO: "Lowest"
    scope:
      include:
        - identifier: [CPUThrottlingHigh, KubePodCrashLooping]
Save the file and run
helm upgrade robusta robusta/robusta --values=generated_values.yaml
Try the example below to recieve an alert notification in Jira.
Test your Jira Prometheus Integration
The command below creates a crashing pod which triggers the KubePodCrashLooping alert. This will cause a Jira ticket to be opened when using the above example.
kubectl apply -f https://raw.githubusercontent.com/robusta-dev/kubernetes-demos/main/crashpod/broken.yaml
Note
If creating issues by
project_nameorissue_typefails, try specifying the corresponding ids usingproject_type_id_overrideandissue_type_id_override. Check Optional Settings above for details.
